 MugiPocketNews
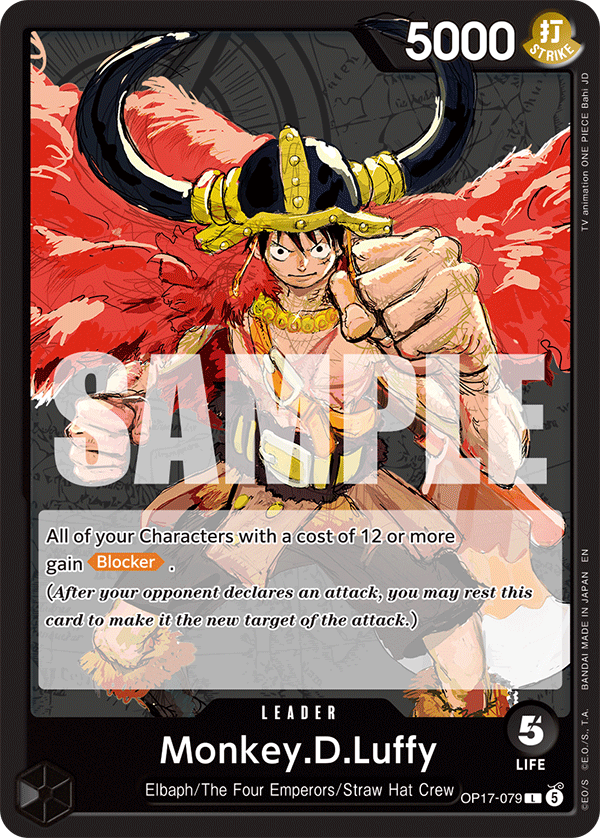
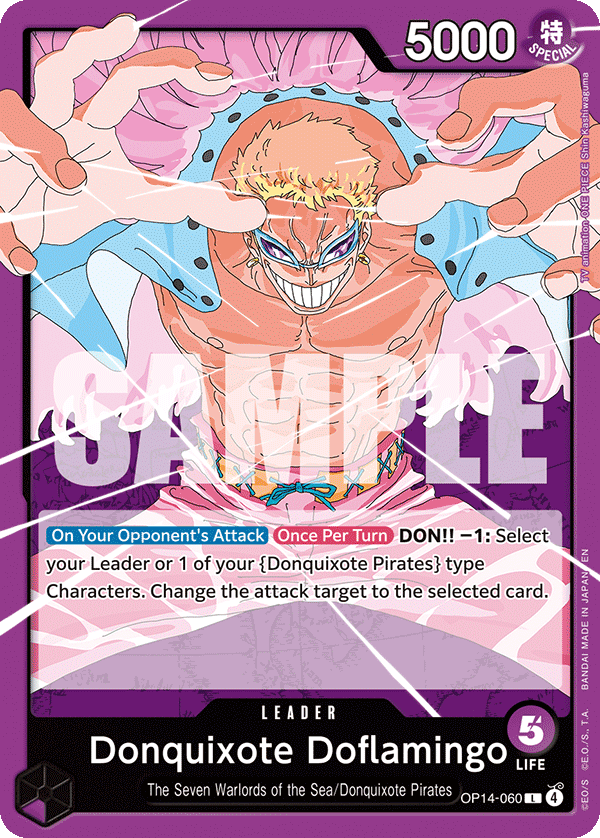
One Piece has no mana screw and no mana flood. Every player gets the same DON!! on the same schedule: two on turn one for the second player, then two more each turn, until ten. Because the resource is fixed, the game is decided by how efficiently you spend it, and the earliest turns are where inefficiency costs the most.
The curve
- Turn 1 (2 DON!!). A 2 cost body or all DON!! on the leader. Never pass with DON!! unspent.
- Turn 2 (4 DON!!). The most important turn. A 4 cost Blocker or a 3 cost body plus a leader attack. Whatever you play here is on board for the whole game.
- Turn 3 (6 DON!!). Your first real threat, or two bodies. This is where aggro decks go for the leader and control decks stabilise.
- Turn 4 and 5 (8 to 10 DON!!). Finishers and DON!! attached to attackers. If your board from turns 2 and 3 is intact, this is where you win.
Every DON!! left unspent on turn 2 is a card the opponent gets to play for free.
Build the best deck and test it against an Expert bot
Deck Builder with legality checks, meta decks, and Practice Arena with real card effects.
Build a deck in the AppFree on iOS and Android
The two mistakes
- Playing a 5 cost on turn 3 with one DON!! idle. That DON!! on the leader is a 1,000 power attack. Idle DON!! is the most common leak in the game below the top tables.
- Holding a Blocker for later. A Blocker played on turn 2 defends for six turns. Played on turn 5, it defends for three.
MugiPocket's Expert bot is built on the rule that no DON!! stays idle on its turn: it sweeps every remaining DON!! onto its last attacker. Play against it and you will see how much damage a fully spent curve does, then start doing it yourself.
Card prices on each page as of 20 September 2026.